Designing a Map
Maps are complex, filled with many different things. Therefore, it needs a powerful tool to design them. That's why we use Tiled.
Installing Tiled
Tiled is available for all major platforms. You can download it from here. There's no Kristal extension for Tiled yet, so that's all you need to do.
Opening Your Project
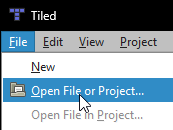
Once you've installed Tiled, you can open your project. You can do this by clicking on File, and then Open File or Project.
Now, navigate to your project's folder. You should find a file called <your-project>.tiled-project. Open it.
The project window on the left should now show a folder tree. This is your project. You can open any map by double-clicking on it! Feel free to mess around with them!
Creating Tilesets
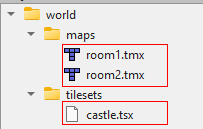
These are the default maps and tilesets.
Now, we have nothing! Perfect state to start from.
First, we need to create a tileset. A tileset is, as the name suggests, a set of tiles. Every map is made up of tiles! Let's use this one:

It's... not the greatest, but it'll get the job done. Let's save this in the folder assets/sprites/tilesets, as example_tileset.png. It's very important that you use this directory for your tileset images.
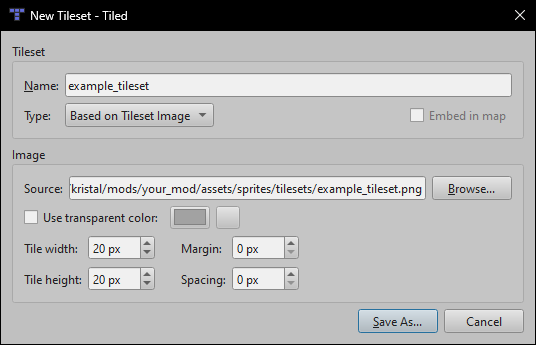
Now, let's create the tileset.

Let's name it example_tileset. The tile width and height should be 20, and the margin and spacing should be 0. Click browse, and locate the tileset image we just saved. You should have the following settings:
Click Save As... and save it to scripts/world/tilesets as example_tileset.tsx. It's also very important that you use this directory for your tilesets.
Now that the tileset is created, we need to do one last step. Open the tileset properties.

Change Tile Render Size to Map Grid Size. This will make the tiles render at the size we want them to. Now, click Save.
Once everything's saved, press CTRL+E to export the tileset. You have to export it every time you make a change to it, otherwise the changes won't be applied.
Make sure to export it as a .lua file in the same directory as the .tsx file. So, in this case, scripts/world/tilesets/example_tileset.lua.
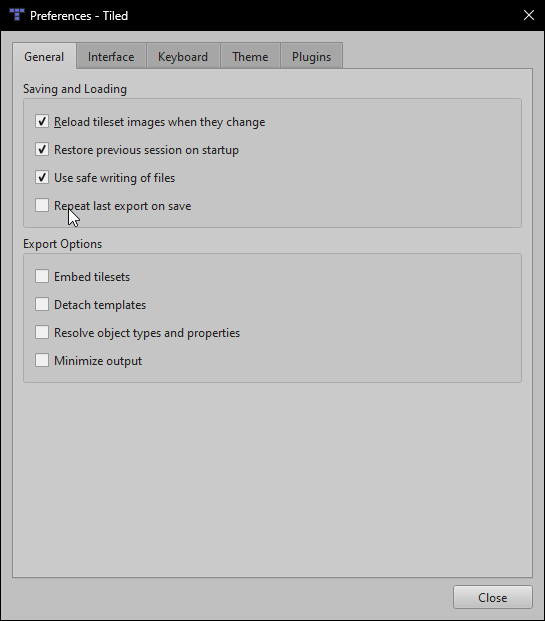
If you get tired of having to export after every save, you can enable this in the preferences:
But anyway, we have a tileset now! So why don't we create a map now?
Creating a Map
Here's where the fun begins.
Create a new map by going to File, then New, then New Map.... Make sure the orientation is Orthogonal,
tile layer format is CSV, and tile render order is Right Down.
Also, make the tile size 40x40.
You'll notice this is twice the size of the tiles in our tileset.
This is because DELTARUNE actually upscales tiles by 2x! Since we don't want to do that manually, we'll just let Tiled make them bigger for us!
Map size should be Fixed, with a width of 16, and a height of 12.
Those are the minimum dimensions for a map, since that's the size of the screen.
They can be larger if you wish, but for this tutorial, let's just stay with 16x12.
After clicking OK, this should take you to an empty map.
First thing we'll want to do is save it into our project.
Go to File, then Save As.... Save it to scripts/world/maps as example_map.tmx.
It's very important that you use this directory for your maps. You probably get that by now.
Now, you can place down tiles! Make anything you'd like, and don't forget to keep saving! Here's what I made:
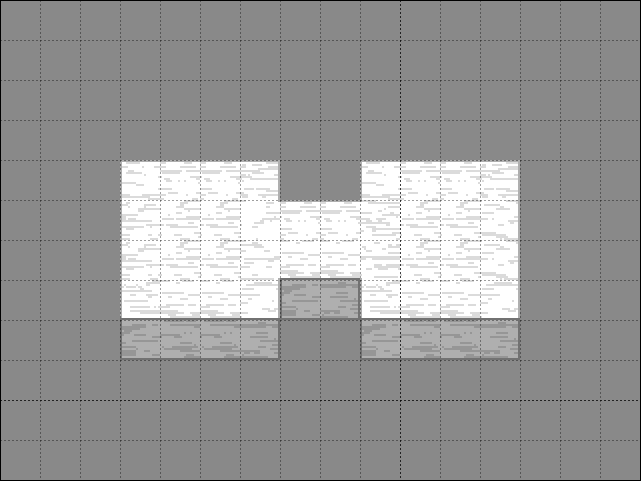
It's... a huge bone? I don't know. It's not important. What is important is that you save your map, and that you're happy with it.
Markers
Markers are a very important part of maps. They're used to mark things like spawn points, and just general points of interest. Let's add a marker to our map.
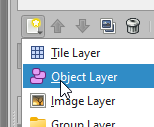
First, we'll have to make a new layer, named markers.
Us Kristal devs really like when they're purple (it helps us know the layer at a glance), but you can make them any color you want.

To place down a point, use the Insert Point tool, which you can find in the toolbar at the top, or by pressing I.
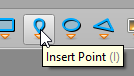
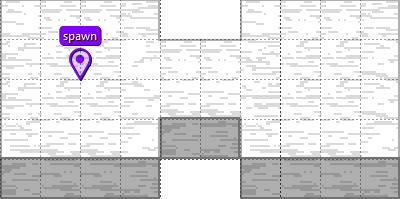
Now, click anywhere on the map. A point should appear.
This is a marker! We're trying to make the player's spawn point right now, so name it spawn.
Now, let's test in-game! Save your map, and then press CTRL+E to export it.
Yep, you have to export maps as well. Make sure it's a .lua file!
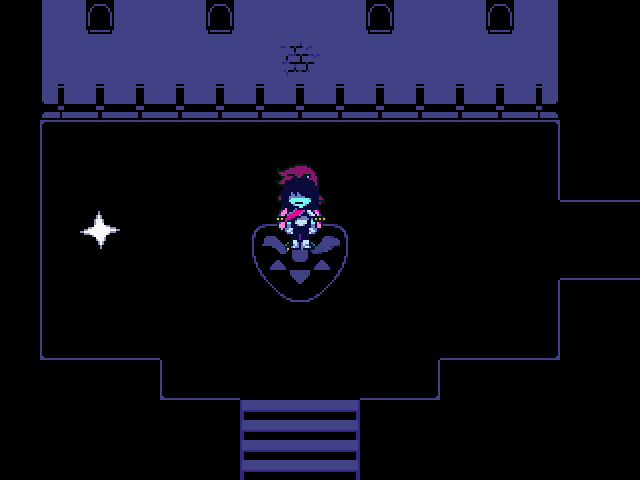
Now, open your project in Kristal. You'll either load into here...
...or get this error.
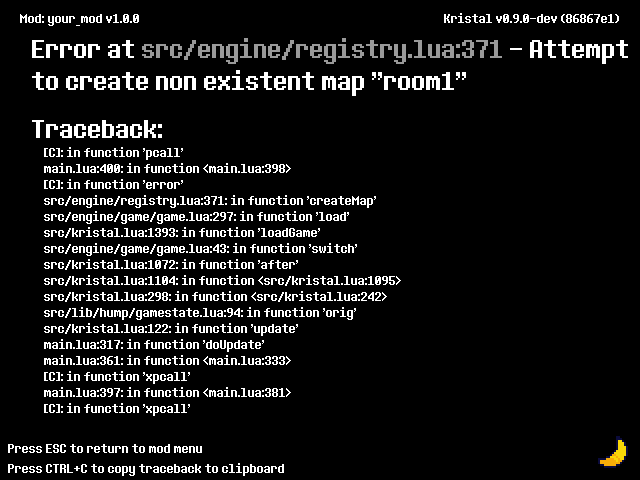
Kristal is currently trying to load a map called room1. If it errored, you deleted it. That's okay, since we don't need it.
Let's tell Kristal to load our map instead:
In mod.json, change "map": "room1" to "map": "example_map".
Now, save the file, and try again. It should work! And look at that, our spawnpoint is working, too!
Collision
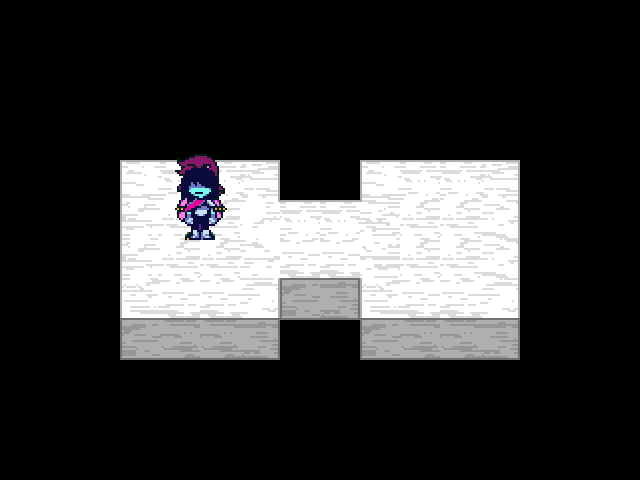
Our test map is perfect, right? Well...
...that isn't right. We didn't add any collision! Let's fix that.
First, you'll have to create another object layer. Name this one collision. We prefer to make these layers blue!

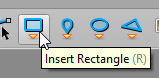
Now, select the Insert Rectangle tool, which you can find in the toolbar at the top, or by pressing R.
This is one of the tools you'll be using to draw collision. It's pretty simple, just click and drag to make a rectangle. Make sure to hold CTRL to make it snap to the grid!
Now that we've drawn out where collision should be, let's export and test! And look at that, it works!
Slopes, Polygons, and More
Using the Insert Polygon tool, which you can find in the toolbar at the top, or by pressing P,
you can make any polygon you want! Whether it's a triangle, a trapazoid, or even a pentagon, you can make it!
Holding down CTRL makes it snap to the grid, as well, so you can make perfect shapes!
Events
Events are a very important part of maps. They're special objects which can be placed down directly in maps.
Using Events
To use an event, we need to first make a layer for them. Make a new object layer, and name it objects. We make these layers pink!

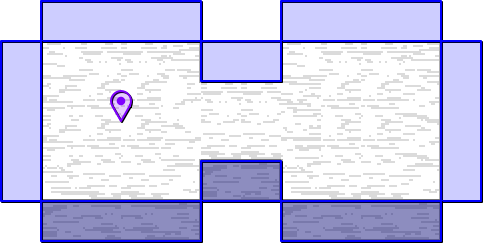
Now, you can select the Insert Point tool which we talked about earlier. Click anywhere on the map, and a point should appear. This is an event! Or, well, it will be.
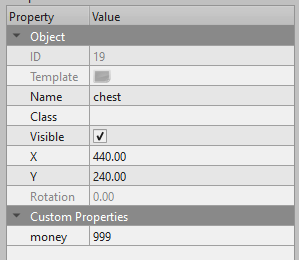
Let's name it chest. This'll tell the engine which event to use -- in this case, the TreasureChest event. Now, let's add some properties to it.
Let's now add the money custom property (making sure it's an int) and set it to 999. This'll give us a lot of money when we open the chest!
If we save, export, then open up our project in Kristal, we should see the chest! And interacting with it should give us 999 Dark Dollars! Wow!
Using Events (Continued)
Okay, we can add a chest. But what if we want to add something that needs a bit more than just a point? Well, we can use the Insert Rectangle tool to make a rectangle instead!
Let's make an interactable box. We'll name it interactable, and give it the text string property, with the contents * Hello, World!
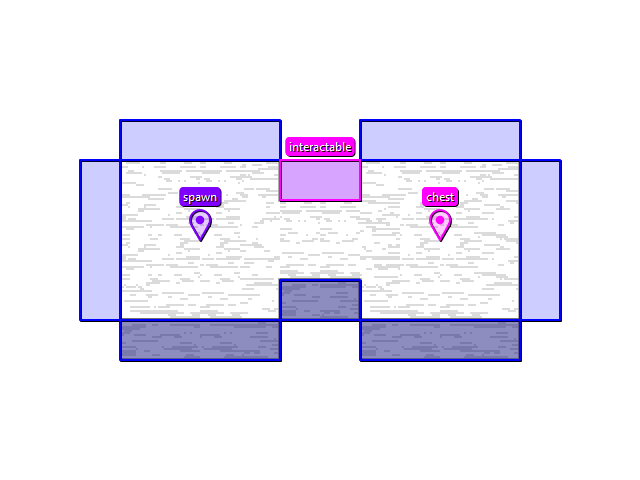
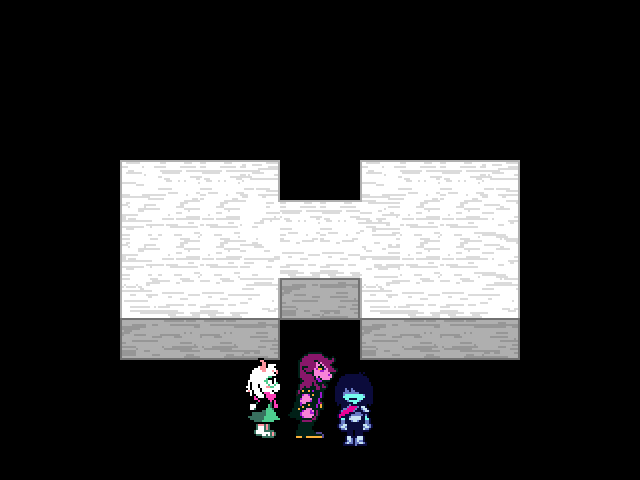
And if we check it out in-game, then...

Perfect!
Room Transitions
Room transitions are events, so the last section applies to them as well.
They're called transition, and can take the following properties, which are all optional:
map-> The map to transition toshop-> The shop to transition tox-> The X position to spawn aty-> The Y position to spawn atmarker-> The marker to spawn atfacing-> The direction to face when spawning in a mapstairs-> Whether to play the stairs sound or not
Most of the time, you should probably use the marker property instead of specifying x and y.
Creating Events
Events are just objects which extend the Event class. You can make your own events by creating a new file in scripts/world/events, and extending the Event class. Let's make an event which is... a pinwheel! And let's make it spin when you interact with it!
Here's the sprites I made, although they're not very good:
And here's the code I ended up making:
-- Extend the Event class, and set the ID to "pinwheel"
-- This is what you'll use to refer to the event in Tiled
local PinwheelEvent, super = Class(Event, "pinwheel")

-- `data` is the data directly from Tiled
function PinwheelEvent:init(data)
    -- Place the event at the correct position, and make the size 20x20
    super.init(self, data.x, data.y, 20, 20, data)

    -- Any custom properties are stored in `data.properties`, but we don't use any.

    -- Just some variables for the pinwheel
    self.min_speed = 2
    self.speed_slowdown = 0.5
    self.speed = self.min_speed
    self.pinwheel_rotation = 0

    -- Most events in DELTARUNE are 2x sized
    self:setScale(2)

    -- We placed a single point in Tiled, which we want to be the bottom center of the pinwheel
    self:setOrigin(0.5, 1)
end

-- Update gets called every frame
function PinwheelEvent:update()
    super.update(self)

    -- Make it rotate using the speed
    self.pinwheel_rotation = self.pinwheel_rotation + (self.speed * DTMULT)

    -- If it's going too fast, slow it down
    if self.speed > self.min_speed then
        self.speed = self.speed - self.speed_slowdown * DTMULT
    end

    -- Make sure it doesn't go below the minimum speed
    self.speed = math.max(self.speed, self.min_speed)
end

function PinwheelEvent:draw()
    super.draw(self)

    -- First, draw the base
    love.graphics.draw(Assets.getTexture("pinwheel_base"), 0, 0, 0, 1, 1)
    -- Then draw the pinwheel, spinning
    love.graphics.draw(Assets.getTexture("pinwheel"), 10, 10, math.rad(self.pinwheel_rotation), 1, 1, 6, 6)
end

-- When we interact with the pinwheel, make it spin faster!
function PinwheelEvent:onInteract()
    self.speed = 60
end

return PinwheelEvent
Then we just have to place it somewhere, using the ID we supplied in the code, pinwheel!
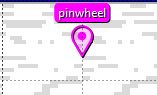
After all this, we have our own event!
Other Engine Events
Kristal provides quite a few other events baked directly into the engine.
Go to Using Events to know about all of the Events that Kristal has.
They're all extensions of either the Event class, or the Character class. Using Tree View on the API Reference and looking for Character and Event will allow you to see all of them.